Reading a Site Before You Arrive: Access Notes for Network Visits
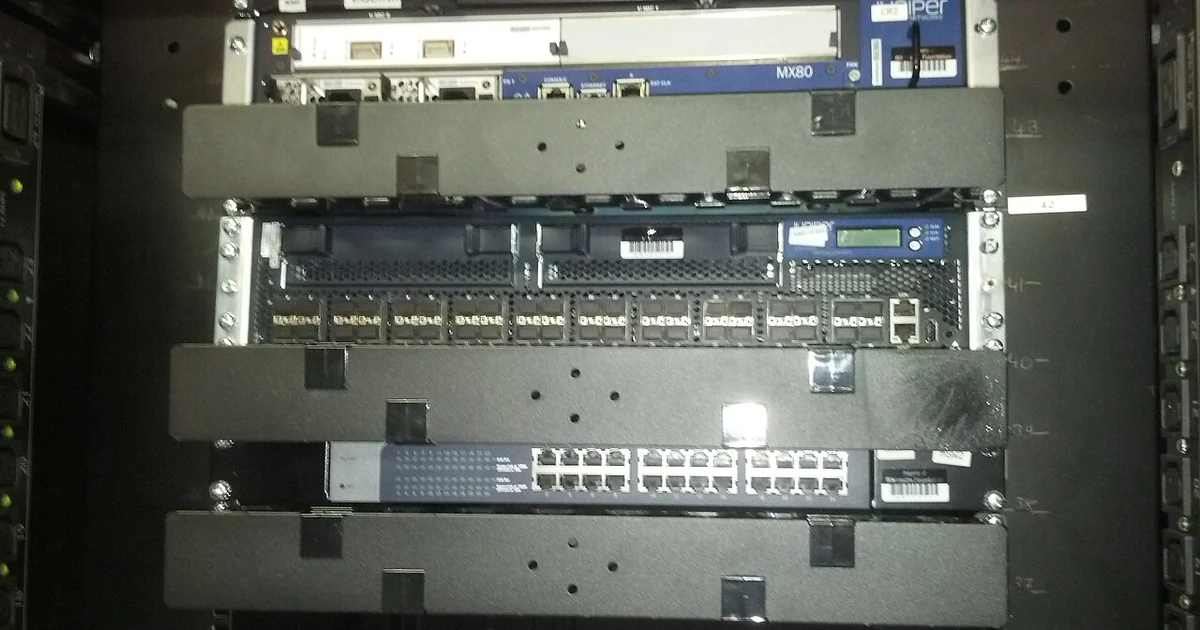
Many avoidable problems on a network site visit begin before the technician leaves home. A gate code that was never confirmed, a required escort who is not on site that day, or a tool list that missed a specialized adapter can cost a full trip. Preparing for a visit is less about memorizing a checklist and more about asking the right questions early, writing down the answers, and deciding in advance what you will do if the answers do not match what you find. This article walks through a method for turning a site visit into a series of confirmed facts rather than assumptions.
Separate What You Were Told From What You Confirmed
The first habit to build is a simple two-column note. On the left, record what the requesting party told you: the address, the contact name, the arrival window, the equipment involved. On the right, record what you have independently confirmed, such as calling the on-site contact, checking the access instructions yourself, or verifying that the equipment identifiers match. Many disputes later trace back to a verbal detail that was never written down or never checked.
When a detail is only on the left side, treat it as provisional. A common example is an arrival window given as 'morning' with no start time, or a contact listed without a working number. Mark these items clearly so that when you plan your route and your day, you are not quietly relying on guesses. Your notes should make it easy to see at a glance which items are settled and which still need an answer.
Questions to Ask Before You Commit to a Visit
Before accepting or scheduling a visit, ask a fixed set of questions. Who controls physical access to the site, and is that person reachable during your window? Is a specific entry method required, such as a badge, a key handoff, or an escort, and who arranges it? Are there restricted areas, such as a rooftop, a utility closet, or a secured equipment room, that need separate permission? Are there rules about photography, sign-in logs, or when equipment may be powered down?
Ask about the scope of work in terms you can check on arrival. Instead of 'repair the link,' ask which device, which port or circuit, what the expected symptom is, and what has already been tried. Ask whether you are expected to replace parts, and if so, where those parts will come from. Each unanswered question is a potential reason for a return trip, so it is reasonable to ask them before the visit rather than discovering the gaps on site.
Preparing Tools and Materials by Category
Organize your preparation by category rather than as one long list. Group items into access items (identification you may need, the contact number for the escort, any authorization letters the site requires), testing items (meters, cable testers, a laptop with the right console software, spare patch cables and adapters), and safety items (any personal protective equipment the site description calls for, and a way to verify it is suitable). Reviewing each group separately makes it easier to notice when one group is thin.
Check that your tools are in working order before you leave. A battery at low charge, a cable tester that was last calibrated long ago, or a missing connector adapter will not show up until you are on the site. If you are unsure whether a site will need a specialized item, ask the requesting party in writing so the answer is recorded before the day.
A Practical Pre-Arrival Checklist
Use the following as a plain-language checklist you can adapt. First, confirm the site address and the exact entrance to use, and write down the name and number of the person who will meet you. Second, confirm the arrival window and how to reach the contact if you are running late. Third, confirm the device or circuit identifiers and the symptom you are expected to address. Fourth, confirm any access steps, such as sign-in, escort, badge, or key pickup, and note who is responsible for each. Fifth, confirm tool and material needs, and check that each item is packed and functional. Sixth, decide in advance what you will record during the visit, such as photos of labels, time-stamped notes, and the state of equipment before and after work.
If any item cannot be confirmed before the visit, decide how you will handle it. A reasonable choice is to note the open item in writing, tell the requesting party what you will need to proceed, and agree on a time to reassess. Making that decision before you arrive prevents rushed judgment on site.
Writing Up the Preparation So It Holds Up Later
Keep a short preparation record for each visit. It should state the date you confirmed each access detail, who you spoke with, the identifiers you verified, and any items still open when you left. This record is valuable not because it guarantees anything about the outcome, but because it shows what was known and when. If the site turns out to differ from the description, a clear record makes it far easier to explain what you did and why.
Store preparation notes alongside the visit documentation so they can be reviewed together. Do not overwrite earlier notes when the plan changes; add a dated entry that describes the change. A preparation trail that shows how your understanding developed is more useful than a tidy document written after the fact.